Content Editor
Demo Site: Common Tasks
This guide provides step-by-step instructions for common tasks specific to the Demo Site. For generic Agility CMS workflows, see the Generic Training Guide.
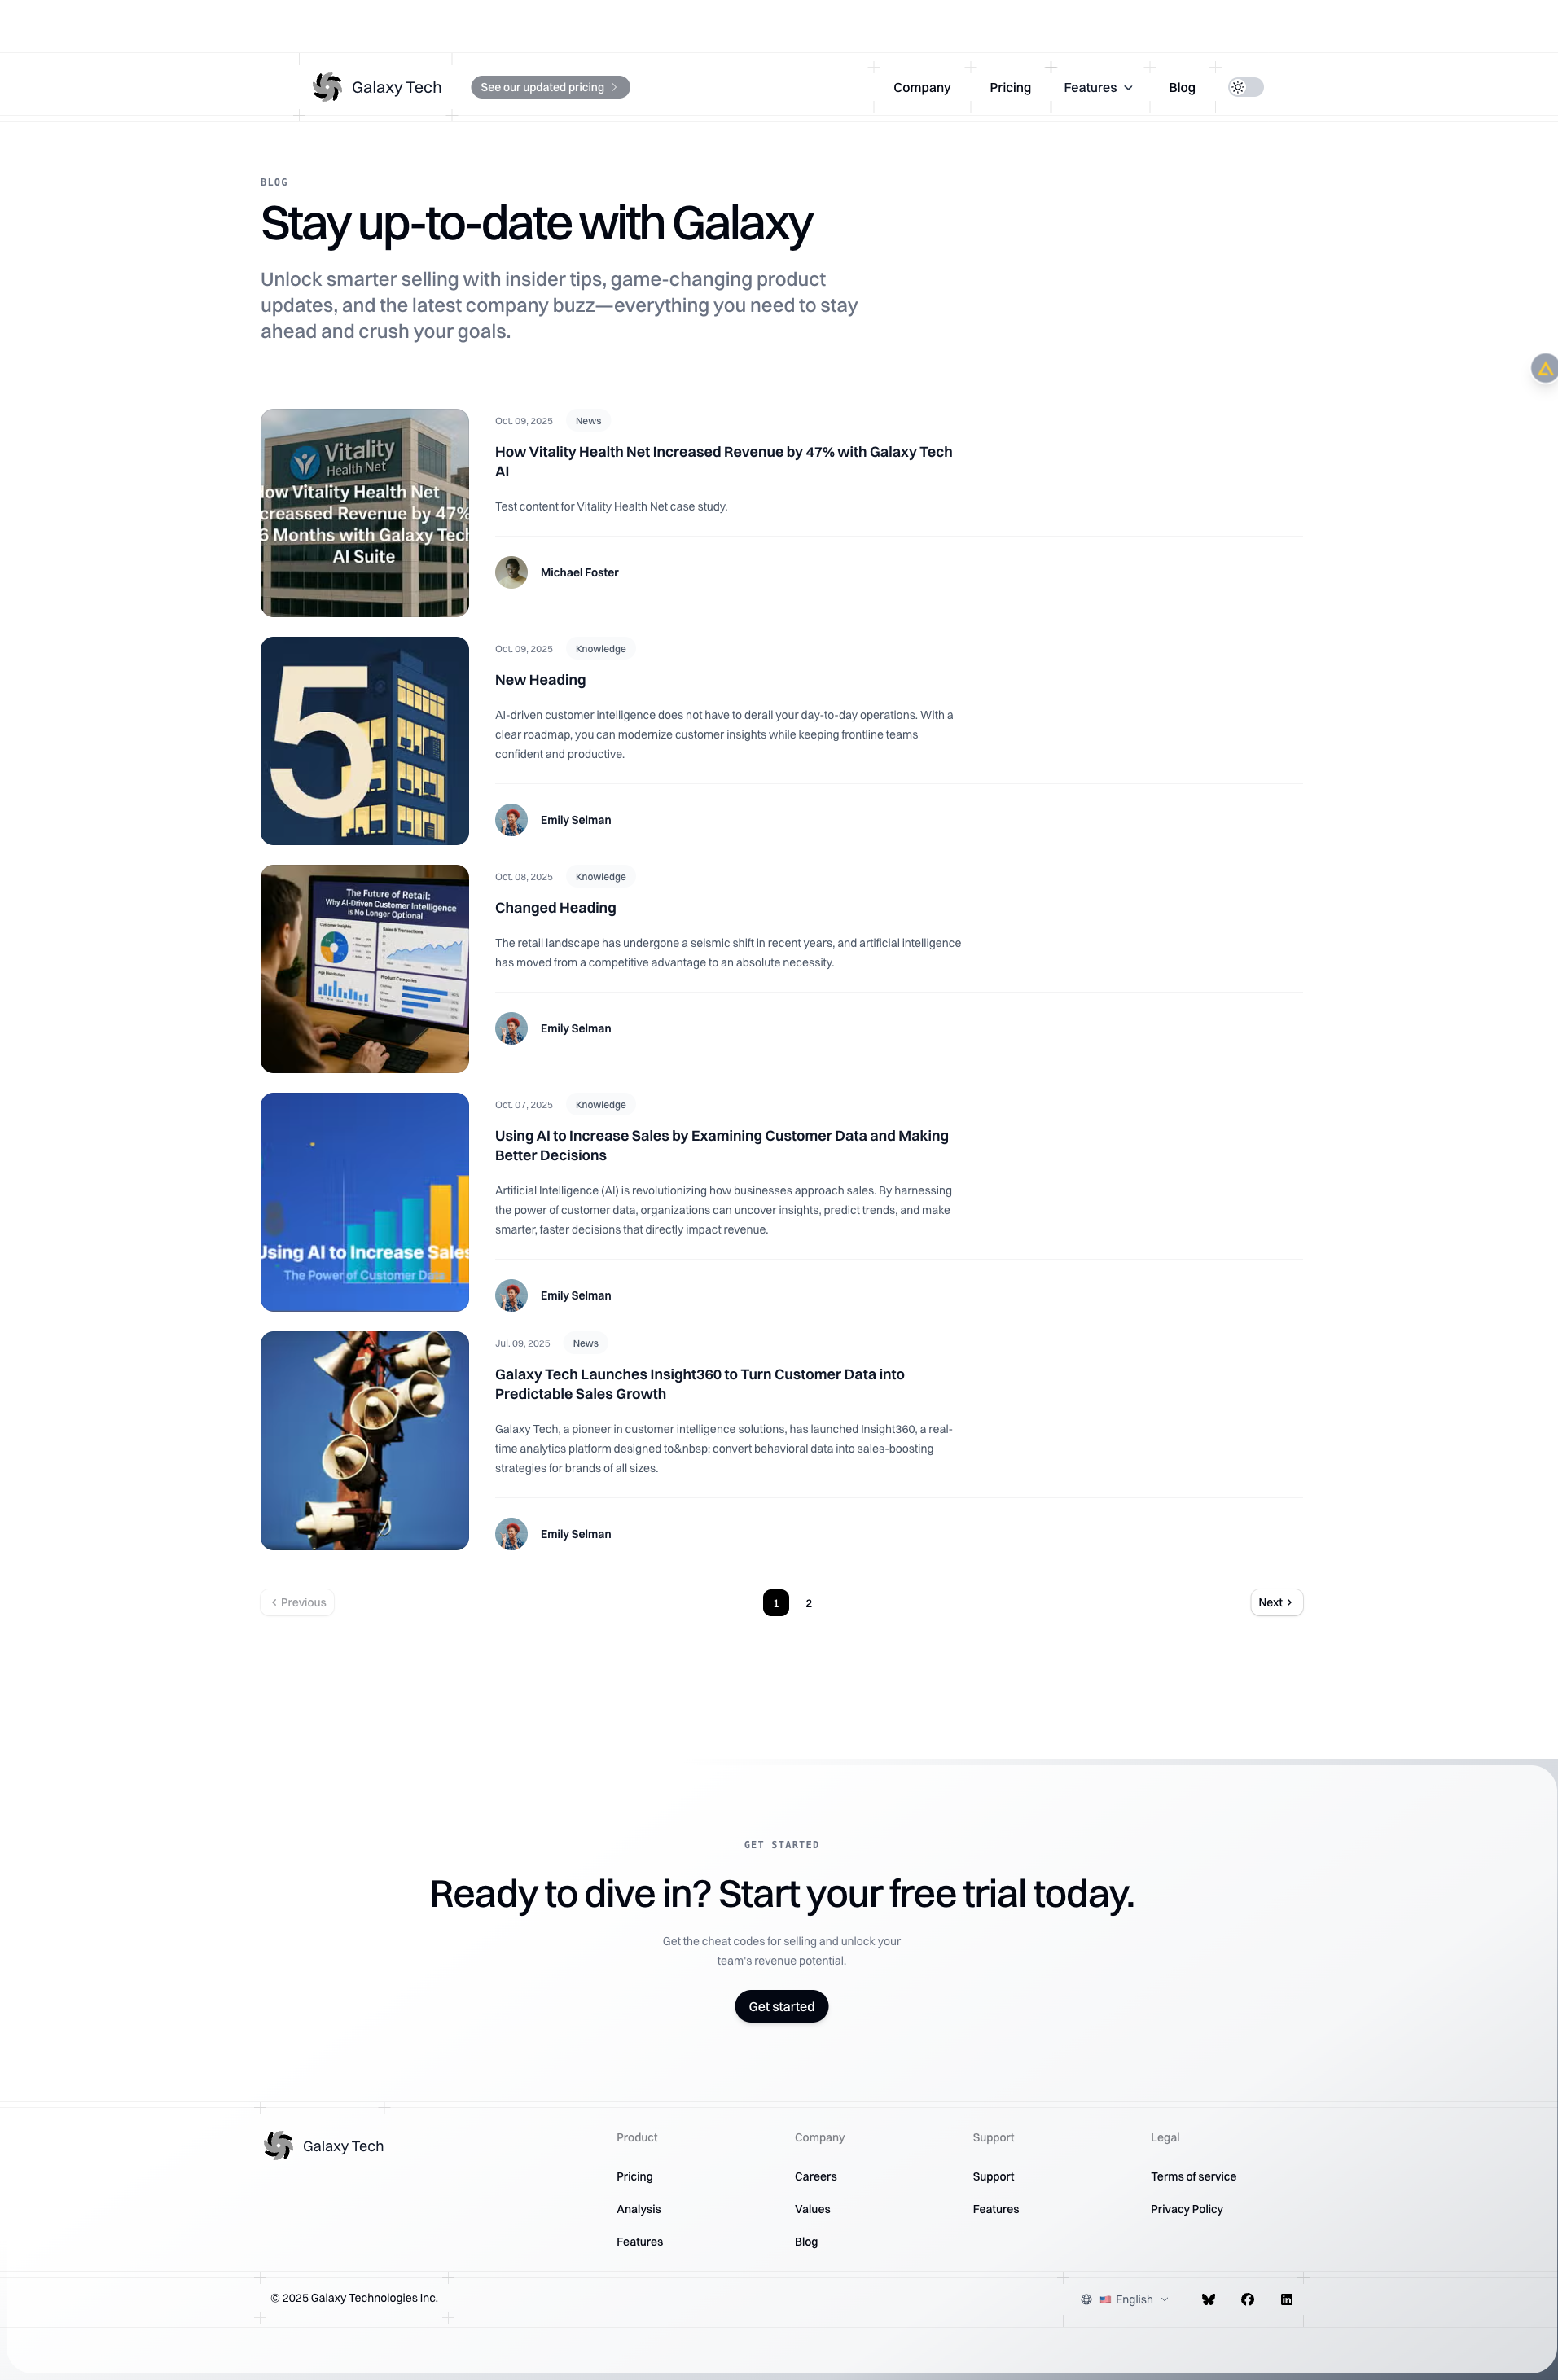
Task: Create a New Blog Post
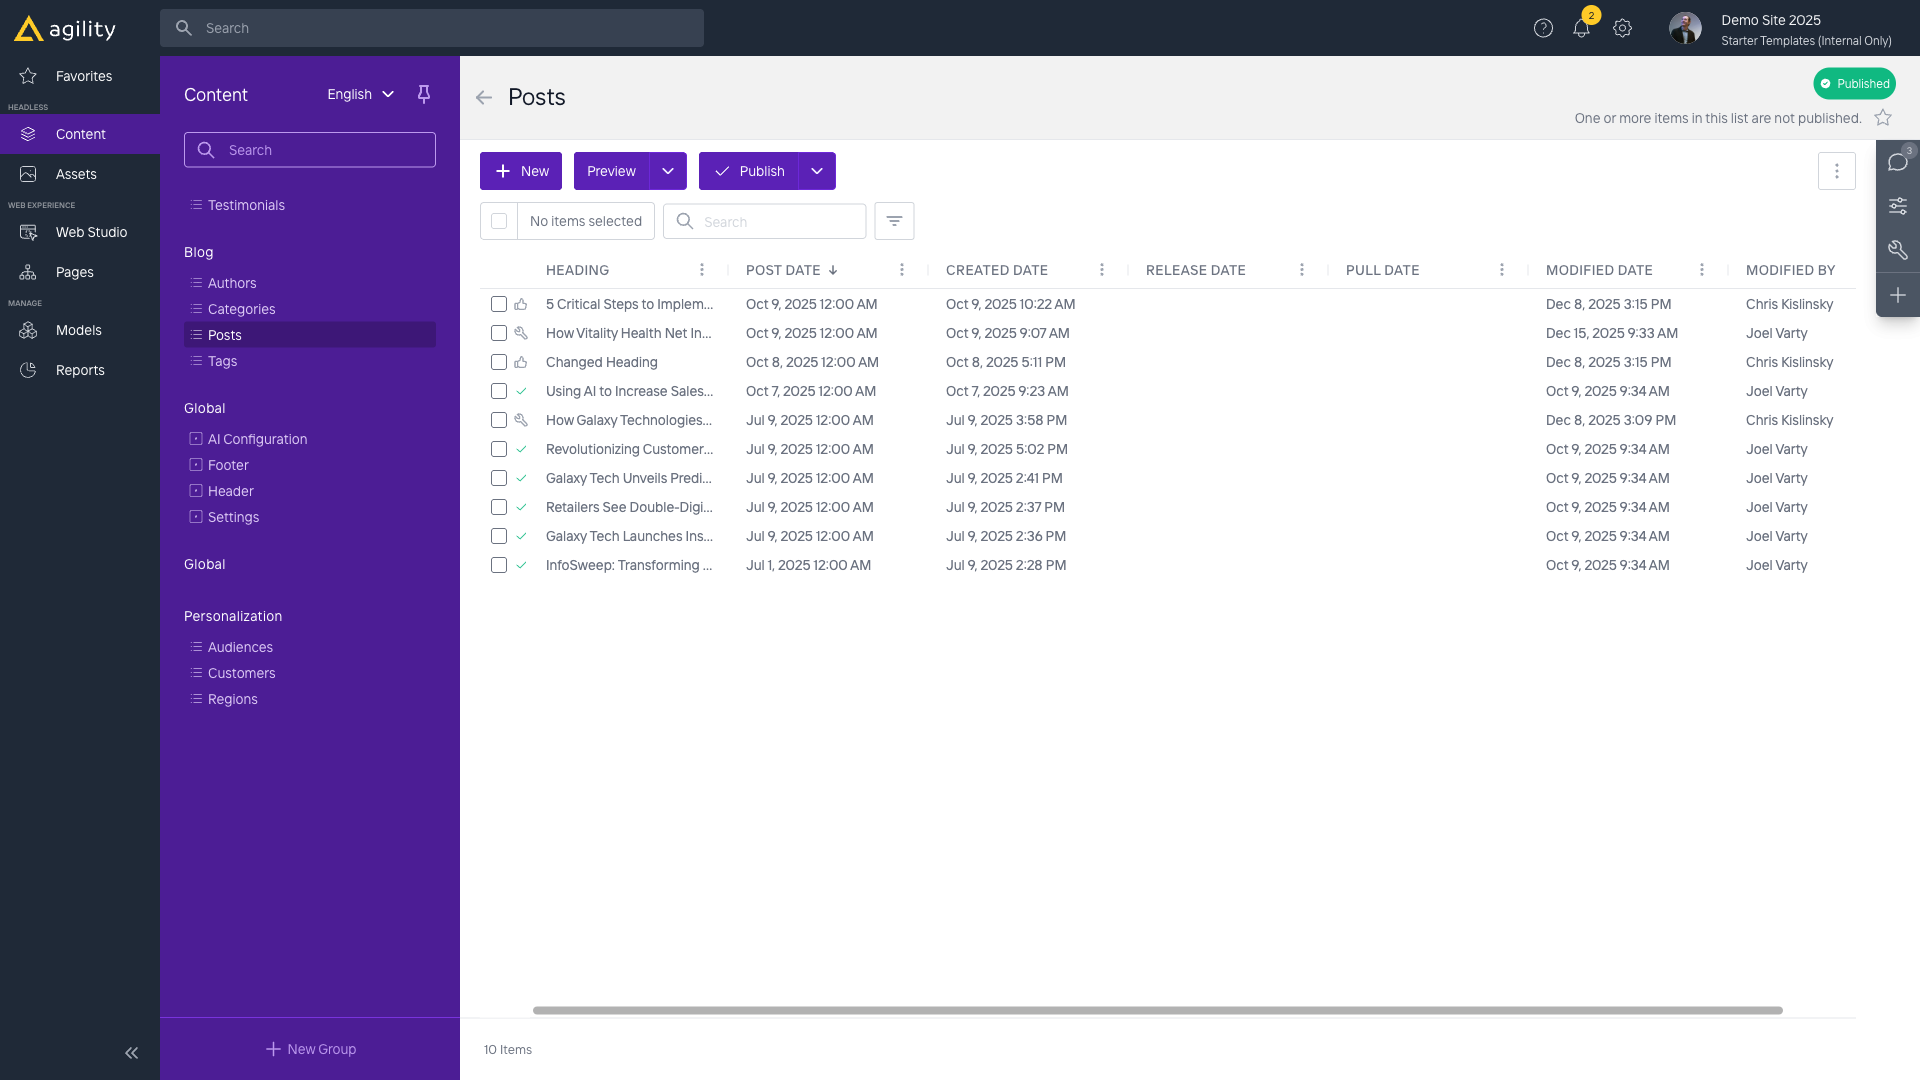
- Navigate to Content → Posts
- Click "Add Content" or the "+" button
- Fill in the post fields:
- Heading: Post title
- Slug: URL-friendly identifier (auto-generated from heading)
- Post Date: Publication date
- Content: Rich text content
- Featured Image: Upload or select from library
- Category: Select from existing Categories or create new
- Author: Select from existing Authors
- Tags: Select multiple tags
- Click "Save" to save as draft
- Click "Publish" to make it live
Result: The blog post automatically appears on the blog listing page when published.
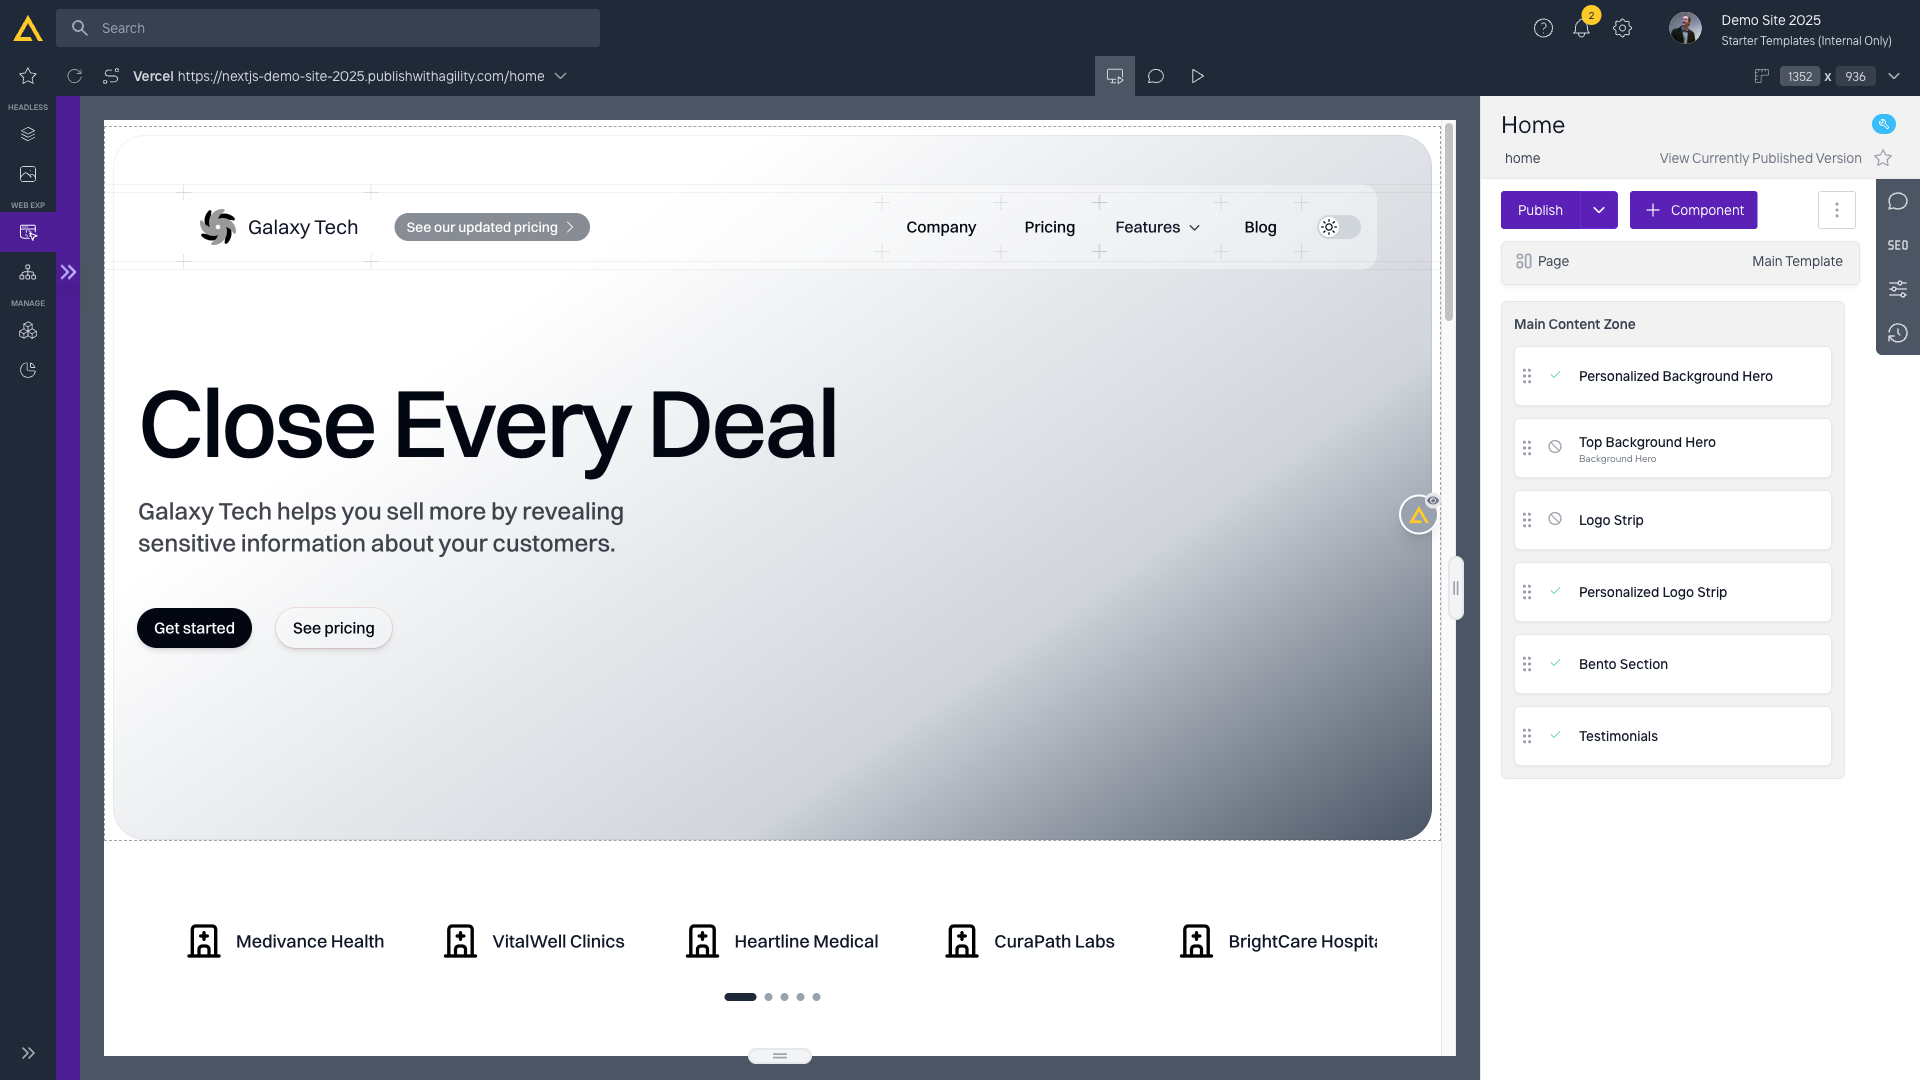
Task: Update the Homepage Hero Section
- Navigate to Pages → Sitemap
- Click on Home page
- Find the BackgroundHero or PersonalizedBackgroundHero component
- Click to edit
- Update fields:
- Heading
- Description
- Background Image
- CTA Button (if applicable)
- Click "Save"
- Click "Publish" to make changes live
Task: Add a Testimonial
- Navigate to Content → Testimonials
- Click "Add Content"
- Fill in testimonial fields:
- Customer Name
- Quote (rich text)
- Image (customer photo)
- Company/Title (if applicable)
- Click "Save" and "Publish"
Note: The testimonial will appear in any Testimonials component that links to it.
Task: Update Pricing Information
- Navigate to Content → Pricing Tiers
- Click on the pricing tier you want to update
- Update fields:
- Tier Name
- Price
- Features (list)
- CTA Button
- Click "Save" and "Publish"
Note: Changes will appear on the Pricing page automatically if the PricingCards or PricingTable component is linked to this tier.
Task: Add Content to Bento Section
- Navigate to Content → Bento Cards
- Click "Add Content"
- Fill in card fields:
- Title
- Description
- Image
- Link (if applicable)
- Click "Save" and "Publish"
- Navigate to the page with the BentoSection component
- Edit the BentoSection component
- Link the new Bento Card in the component's linked content field
- Save and publish the page
Task: Manage Authors
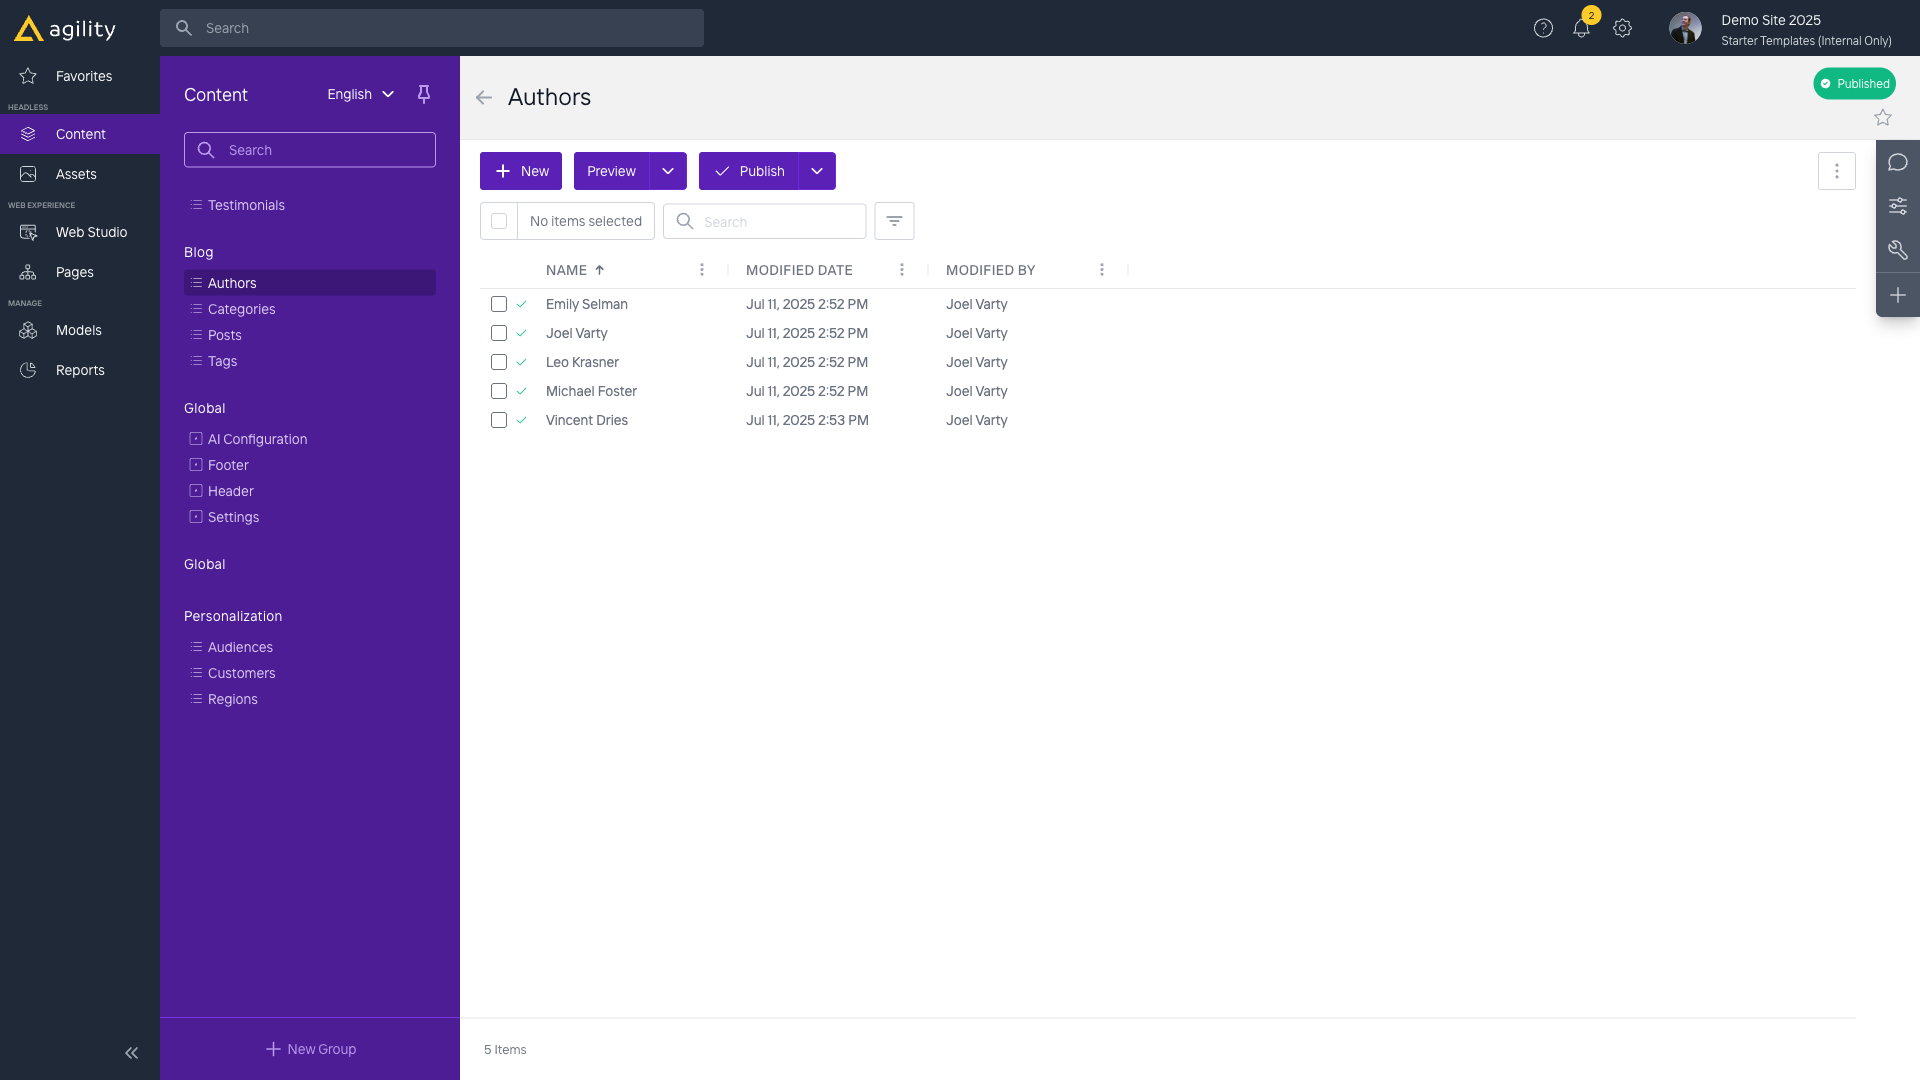
- Navigate to Content → Authors
- To add a new author:
- Click "Add Content"
- Enter Name
- Upload Headshot Image
- Save and publish
- To edit an author:
- Click on the author
- Make changes
- Save
Note: Authors are linked to blog posts. When you create a post, you can select an author from this list.
Task: Organize Blog Posts with Categories
- Navigate to Content → Categories
- Create categories as needed:
- Click "Add Content"
- Enter Category Name
- Save and publish
- When creating/editing posts:
- Select the appropriate Category
- Posts will be organized by category
Note: The PostListing component can filter posts by category.
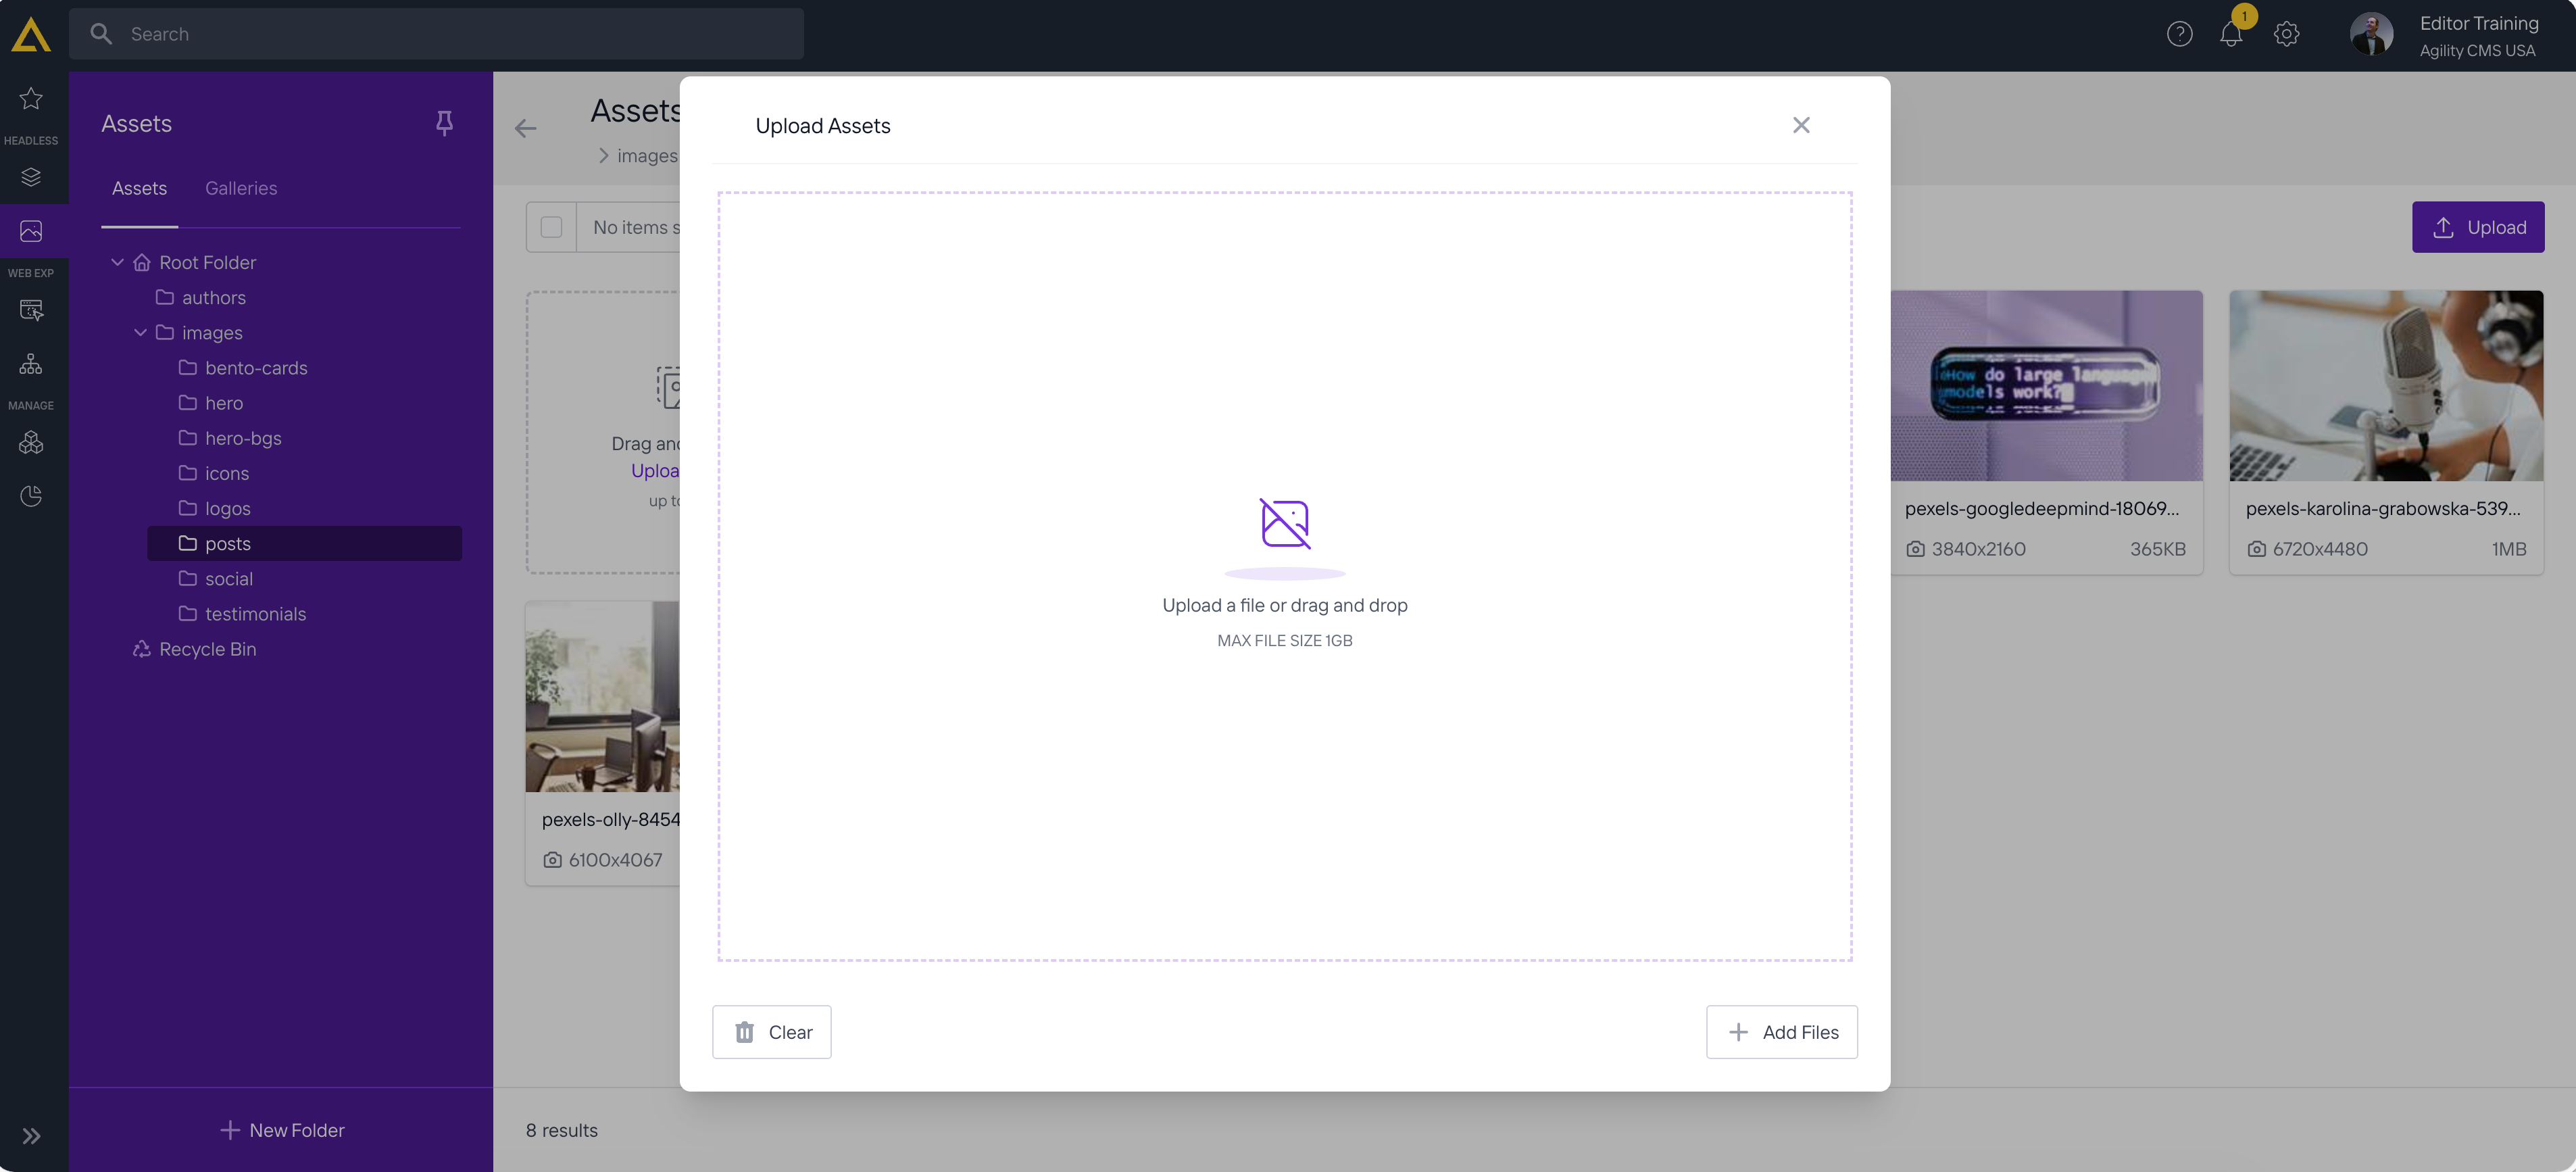
Task: Upload and Use Images
- Navigate to Assets
- Browse to the appropriate folder (e.g.,
images/posts,images/hero) - Click "Upload" or drag and drop files
- When editing content or components:
- Click on an image field
- Select "Choose from Library"
- Browse and select the image
- Add alt text for accessibility
Task: Preview Before Publishing
- From any page or content item editor, click "Preview"
- Review how content will appear
- Check on different device sizes if available
- Make adjustments if needed
- Publish when ready
Task: Use Personalization Features
The Demo Site supports audience and region personalization:
- Navigate to Content → Audiences or Regions
- Create audience/region segments as needed
- When editing components that support personalization:
- Configure default content
- Configure audience-specific content
- Configure region-specific content
- Content will display based on URL parameters
Note: Personalization is configured through components like PersonalizedBackgroundHero and PersonalizedLogoStrip.
Best Practices for Demo Site
- Use linked content: Link to Authors, Categories, and Tags rather than duplicating
- Organize assets: Use folders in Assets section (images/posts, images/hero, etc.)
- Preview before publishing: Always preview changes
- Follow naming conventions: Use descriptive names for content items
- Keep content reusable: Design content items to be used in multiple places
Back to: Demo Site Overview